You’ve stared at your empty shelves, unsure where to start. A designer would tell you that styling isn’t about filling space—it’s about creating balance with intention. Start at the top, anchor with your tallest piece off-center, and resist the urge to crowd every inch. There’s a method to the asymmetry, and once you learn the four formulas professionals rely on, your shelves will transform from cluttered storage to curated display. But first, you need to understand why your eye craves that specific empty corner.
Start With a Game Plan (and Skip the Overwhelm)
Few decorating tasks feel as intimidating as staring at empty shelves, but you don’t need a design degree to pull together a display that looks intentional. You simply need a framework that guides your choices and prevents that scattered, cluttered look.
You’ll work in three moves: start with top-shelf emphasis to anchor the entire arrangement, then build two-groupings on the shelves that follow. This rhythm creates visual flow without demanding matching sets. You’re free to use items you already own—books, vases, small frames—arranging them through layering to introduce depth and varying heights. You’ll leave intentional white space so each piece breathes and draws the eye. The result reads as one cohesive display, personally meaningful and professionally finished.
Recommended Products

Enhance Your Space with Bohemian - Style: These bohemian - inspired floating shelves are a perfect addition to any home decor enthusiast's collection. The unique design, featuring a combination of wood and rattan elements, exudes a laid - back, yet stylish boho vibe that effortlessly elevates the aesthetic of your living room, bedroom, or even a cozy reading nook

Enhance Your Space with Ample Storage: Our set of 2 floating shelves (16.5"L×5.7"W×0.6"H) offers ample storage for seasonal displays. Perfect for holding autumn décor, Christmas trinkets, or Thanksgiving accents in any room. Supports 40 lb to showcase holiday collections while adding farmhouse charm to your festive styling.
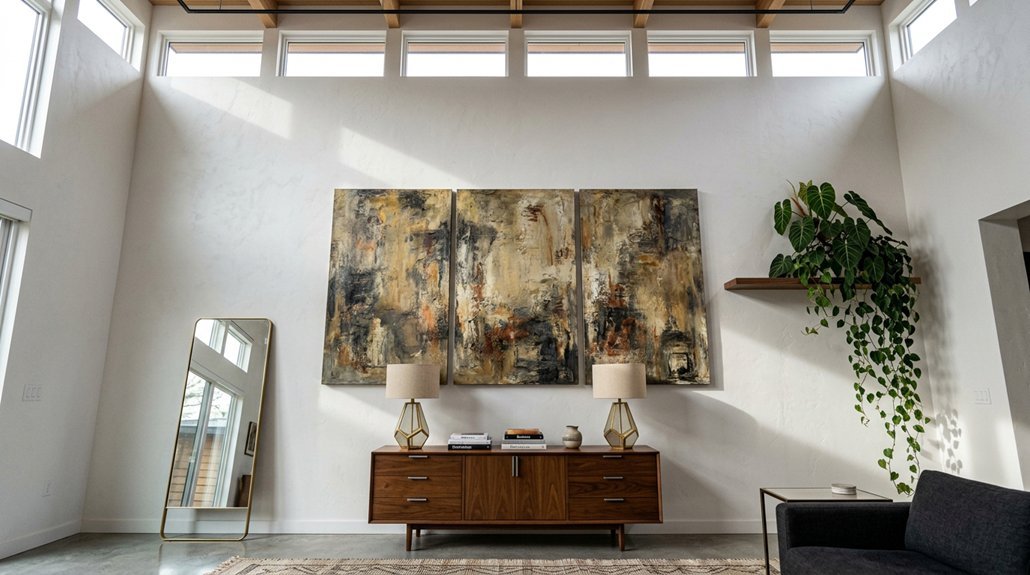
Art and Utility in One -- Elevate your space with the aesthetic room decor shelf, a harmonious blend of mid century modern and art deco design. Showcase your cherished items and collections in a stylish, eye-catching display.
Gather Your Materials: Then Style From the Top Down
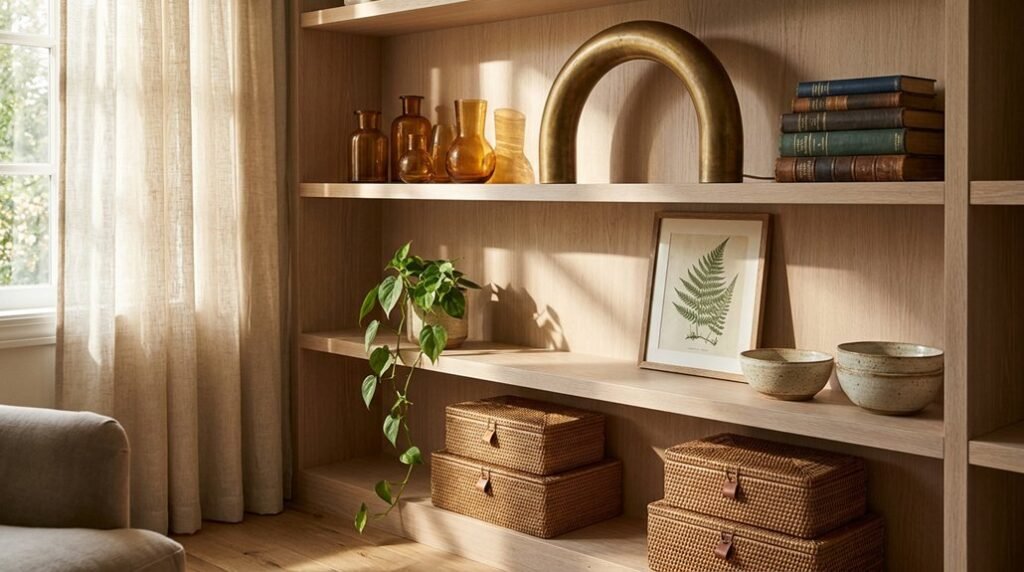
Where do you find the pieces that’ll transform those empty shelves? Scout your home—books, art, boxes, baskets, vases, and sculptures—to build a collection with varied heights and texture for successful shelf styling.
Start on the top shelf. Spread decor across most of this space, keeping ends open for balance and vertical breathing room. You’re layering tall and small pieces, mixing smooth, rough, and woven texture to create visual depth. Place your tallest item off-center to establish deliberate asymmetry that feels curated, not cluttered.
This top shelf becomes your focal point, guiding the eye downward through the composition. Once you’ve arranged it, step back, snap a photo, and review it later for fresh perspective on balance. You’ll spot tweaks needing refinement before tackling lower shelves.
Recommended Products

OPTIMIZE YOUR SPACE: The bathroom countertop organizer is moveable and adjustable, you can use it turned like a 3 tier corner shelf or you can straighten it out and use it as a regular tiered shelf. Space-saving design can surprise you by adding about 30% more space for your countertop

❤【Suit for Textbooks】: This bookcase is uniquely designed with height difference shelves, unlike those with fixed height, matches books that height up to 12.8 inch. Small changes make a big difference.

【Modern Cubby Organizer】: This Slim Bookcase Sized at 9.5”D x 11.8”W x 42.2”H, Easily Fits the Gaps Between Your Couches or the Tight Spots Beside Your Bed.
Apply 4 Go-To Formulas I Use on Every Shelf
Once you’ve set your top shelf, you’ll need repeatable strategies for the rest. These four formulas transform scattered items into cohesive shelves.
Formula one: Stack two to three books horizontally, ascending in size, and crown them with a textured object for movement.
Formula two: Lean art against your shelf’s back wall and layer one to three smaller pieces in front, varying height and shape for real depth.
Formula three: Group objects with different heights and shapes, mixing vintage finds to inject personality.
Formula four: Arrange three to five books vertically, flanking them with sculptural pieces or bookends.
Across all styling, aim for eighty percent fullness, balancing books with art and baskets. Leave breathing room between groupings—you’ll maintain visual balance without clutter.
Recommended Products
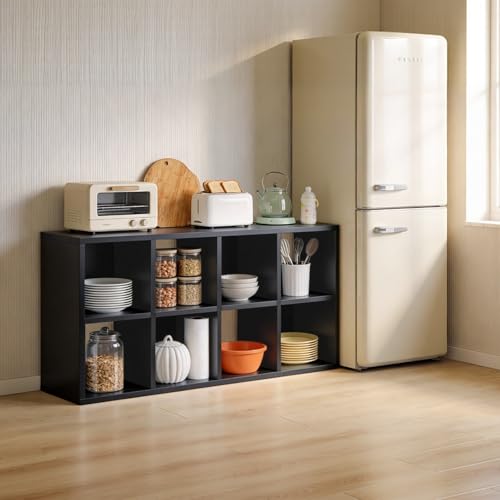
✅【Modular 8-Cube Storage Organizer】 – This stackable cube storage organizer features a 8-cube layout in a clean, space-saving design. Combine multiple units or use vertically/horizontally to suit your space.

CUBE ORGANIZER: 6-Cube design with six square, cube openings for horizontal or vertical display orientation

MODERN MINIMALIST DESIGN: This book shelf features a clean-lined rectangular shape with closed back and open cubes, perfect for modern living rooms, offices, or study room
Use the Two-Grouping Rule on Middle and Bottom Shelves
While your top shelf anchors the overall look, you’ll need a simpler approach for everything below it. Apply the two-grouping rule on middle and bottom shelves by placing two distinct clusters on either side or with deliberate space between them. This shelf styling technique creates instant balance without complexity.
Within each grouping, mix heights and textures so the arrangement doesn’t appear flat or mirrored. You’ll want negative space between the clusters—that breathing room lets the eye rest and prevents overcrowding. Maintain this same placement method consistently across all lower shelves to establish an easy, repeatable system.
After arranging each shelf, snap a photo and review it. Confirm the two-grouping rule delivers intentional balance and a steady visual rhythm throughout the entire unit.
Recommended Products
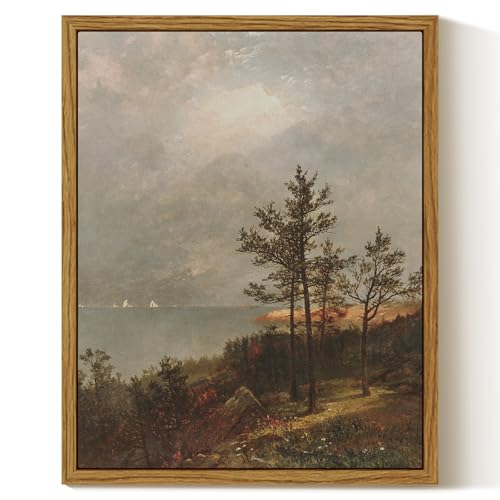
Timeless Lakeside Scenery:Framed wall art captures a serene lakeside landscape with towering pine trees, misty waters, and soft atmospheric lighting, blending classic pastoral charm and timeless natural beauty into your home decor.

Contemporary 5 Tier Design: Leaning wall bookcase ladder features 5 tiers, each shelf has 3 sides with 20-inch width and raised lip 2-inch height

ATTRACTIVE DESIGN: The Kiera Grace Providence Hadfield 5-Tier Ladder Shelf is a modern leaning storage shelf that adds an elegant touch to any space. The sleek finish complements any decor, making it a great fit for your living room at home or the office.
Snap, Step Back, and Know When to Stop
Pinpointing the exact moment your shelves feel finished can feel maddening, which is why you’ll want to build in deliberate pauses. After styling each shelf, step back to assess balance and spacing from a distance—if you can’t see the overall vignette, you’ve lost your way.
Set a timer for 15–20 minutes to prevent overworking the arrangement and triggering decision fatigue. You’ll know you’ve hit your stopping point when every shelf retains some negative space; never fill every inch. If something feels crowded, remove one item or swap a smaller piece for a taller one to restore visual rhythm.
Trust groupings of three or five items—when they feel complete, stop. That’s your cue to walk away.
Recommended Products

VFINE Heavy Duty Metal Bookends -- Made of heavy gauge steel with advanced stamping processing, strong and heavy enough to keep all your books neat and upright. Sturdy and long-lasting all-metal construction with one-piece molding without solder joints.

STURDY L-SHAPED BOOKENDS---This bookends is made of high quality transparent acrylic material, which is strong and durable, has a long service life. The L-shaped structure can firmly support books of different weights.
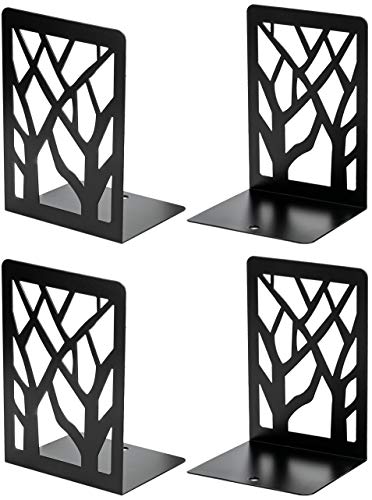
Sturdy and Durable: 7” tall heavy-duty bookends. Classic black color, basic but effective design, sturdy and long-lasting all-metal construction. Made with selected heavy gauge steel with advanced stamping processing, strong and heavy enough to storage all your books/CDs/DVDs neat and upright.
Style Your Books as Display, Not Just Storage
Your bookshelves shouldn’t hide your collection behind uniform spines—let your titles step into the spotlight. In shelf styling, you’ll display books as intentional art rather than mere storage. Prop prized covers on small easels or lean them against the back panel to create visual hierarchy and transform literature into gallery-worthy pieces.
You’ll want to mix vertical and horizontal arrangements, stacking some titles while standing others tall. This rhythm creates movement and lets you weave in decorative objects between groupings. Place shorter accents before taller spines to build depth and dimension across each level.
Organize by height first for stability, then consider color for cohesion. Remember to embrace negative space—don’t pack every inch. When you balance your collection with breathing room and curated accents, your books become the sophisticated focal points they deserve to be.
Recommended Products

[Excellent Quality for Long Lasting Use] - Our floating shelves are handcrafted from sturdy and durable MDF - sure to become an old companion that brings you a comfortable and durable experience. The metal rails are forged from the toughest steel and powder coated to prevent rust over time. We provide more stable and stronger construction - Each shelf is strong enough to hold up to 20 pounds with ease! Toilet paper, picture frames, and small greenery can be placed at will.

Save-space&Decorative: Want a chic and tidy display area? Want to say goodbye to digging through cabinets for spices for cooking? Our glamorous mirrored mounted floating shelves not only keep some items organized and especially saves space for studio apartment,dorm,or small living,but also display art and adds a touch of contemporary,elegance and luxury to your home. So choosing these suspended shelves is intended to be your best choice.

Elevate Room Aesthetics - Boasting a unique design and elegant silhouette, these wall shelves become the focal point, upgrading any room's decor. Perfect for spaces like living rooms, bedrooms, bathroom, studies, and more.
Fill or Edit: Find Your Shelf’s Sweet Spot
What separates a cluttered shelf from a curated one? You start by choosing a theme or palette to guide your decisions. Then, assess each shelf for shelves balance—place a focal element on top, then edit toward two-groupings on lower levels to create resting eye points. You apply the Top Shelf Strategy by covering most of that shelf end to end, but leave negative space on both sides for visual breathing room. Fill about eighty percent with books, decor, and baskets, letting that negative space prevent overwhelm. Treat editing as ongoing maintenance: rotate titles and objects regularly to keep everything fresh and cohesive. Step back often—you’ll spot uneven weight immediately. This disciplined approach transforms random objects into intentional design.
Recommended Products

✨ ELEVATE your shelf decor accents, UPGRADE your living room coffee table decorations, or RESTYLE your desk decor. Use this set of 2 arches to create sculptures of different form. Also makes VERSATILE modern home office decor.

VINTAGE ELEGANCE: Rustic brown surface for an old-time classic look, rigid black iron for industrial chic style, they now come together on this countertop organizer to bring a delicate touch to your home

STYLISH & ELEGANT: Rustic grey surface for an old-time classic look, rigid black iron for industrial chic style, they now come together on this corner countertop organizer to bring a delicate touch to your home
Conclusion
You have got everything you need to style shelves like a pro. Start with a plan, work from the top down, and trust the four formulas to guide you. Keep checking your progress with photos, respect that eighty percent sweet spot, and do not be afraid to rotate pieces until it clicks. Your shelves will look curated, balanced, and distinctly yours.
Recommended Products

✅【Modular 8-Cube Storage Organizer】 – This stackable cube storage organizer features a 8-cube layout in a clean, space-saving design. Combine multiple units or use vertically/horizontally to suit your space.

CUBE ORGANIZER: 4-Cube design with four square, cube openings for horizontal or vertical display orientation

CUBE ORGANIZER: 6-Cube design with six square, cube openings for horizontal or vertical display orientation, compatible with 11 in. fabric cube drawers