You want your space to glow with that effortless warmth you’ve seen in magazines, but you’re staring at blank walls and wondering where to even begin. The right hardware, the perfect drape, the hidden cords—each choice shapes whether your room feels curated or cluttered. One misstep with adhesive or tension, and you’re patching drywall by morning. There’s a quieter art to this than simply pinning up a strand. You’ll want to know the difference before you start.
Match Your Hanging Hardware to Light Weight
Wherever you envision your lights cascading, you’ll want the hardware to match their weight with quiet precision. You’ll select adhesive hooks and transparent tape for lightweight strings, letting them float without piercing your walls. For fairy lights, you’ll secure delicate strands with small clips or pushpins—minimal marks, maximal effect.
You’ll space non-damaging options thoughtfully; weight distribution matters. You’ll avoid clustering heavy loads, instead anchoring every twelve to eighteen inches so tension disperses gracefully across your surface. When reconfiguration calls, you’ll choose curtain rods or removable strips, embracing flexibility without sacrifice.
You’ll reserve screw-in hooks for medium strands, checking ratings with care. You’ll recognize that refinement lives in restraint—never forcing hardware beyond its promise. You’ll let your space breathe, your lights settle, your vision holds.
Recommended Products

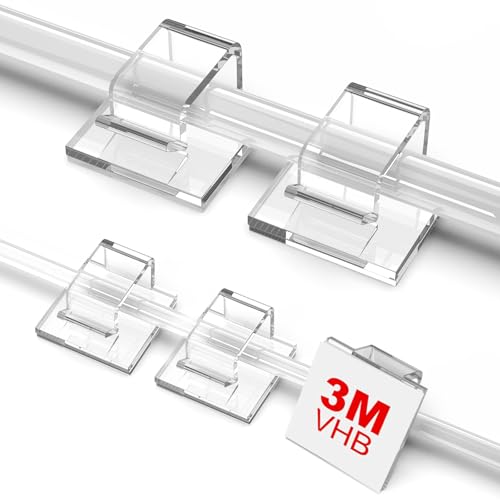
60 PCS Light Hooks Clips Per Box: Length 16mm/0.63inch, Width 15mm/0.59inch, Height 8mm/0.31inch; Suitable for cables with a diameter (maximum) of 5 mm/0.2 inches, size fits most wires, small size and space saving.

ONE LIGHT CLIP FOR EVERY TWO FEET OF LIGHTS: One package of the Command Clear Outdoor Light Clips includes 20 clear hooks and 24 small water-resistant Command Strips; use one light clip for every two feet of lights

【60 CLIPS + 66 STRIPS VALUE PACK】Get everything you need in one complete kit: 60 clear mini light clips and 66 strong adhesive strips. Simply attach a strip to each clip before use—no nails, no tools, no hassle. The 6 extra strips give you spares for future replacement or repositioning as needed. Each clip holds up to 0.5 lbs, perfect for lightweight string lights and cables.
Install Hooks and Clips on Drywall, Wood, or Brick
How will your chosen surface shape your approach? For drywall, you’ll select adhesive hooks designed for lightweight decor, spacing them twelve to eighteen inches apart to prevent sagging and preserve your wall’s clean lines. On wood, you’ll drive screw hooks for stronger attachment, allowing heavier strands to stretch gracefully across longer runs. When working with brick, you’ll employ brick clips or masonry screws with plugs, securing your lights without marring the textured surface. Clean adhesive hooks thoroughly before mounting, then allow them to set completely—these small rituals ensure maximum grip. Always respect manufacturer weight ratings; never burden a single hook or clip beyond its recommended capacity. Your restraint here creates the foundation for luminous, harmonious draping that honors both beauty and structural integrity.
Recommended Products

GREAT GIFT : Great gift for your lovers, friends and familiy's birthday party Christmas festival celebration. Warm white color make your life WARM!

Durable LED Lights: 100 bright LEDs on 33 feet of silver wire with 4 inch spacing between bulbs for long-lasting use.

LED Photo Clips: 100 LEDs with 52 Transparent Clips to Display Artwork, Cards, and Photos
Hang Lights With Enough Slack for Clean Draping
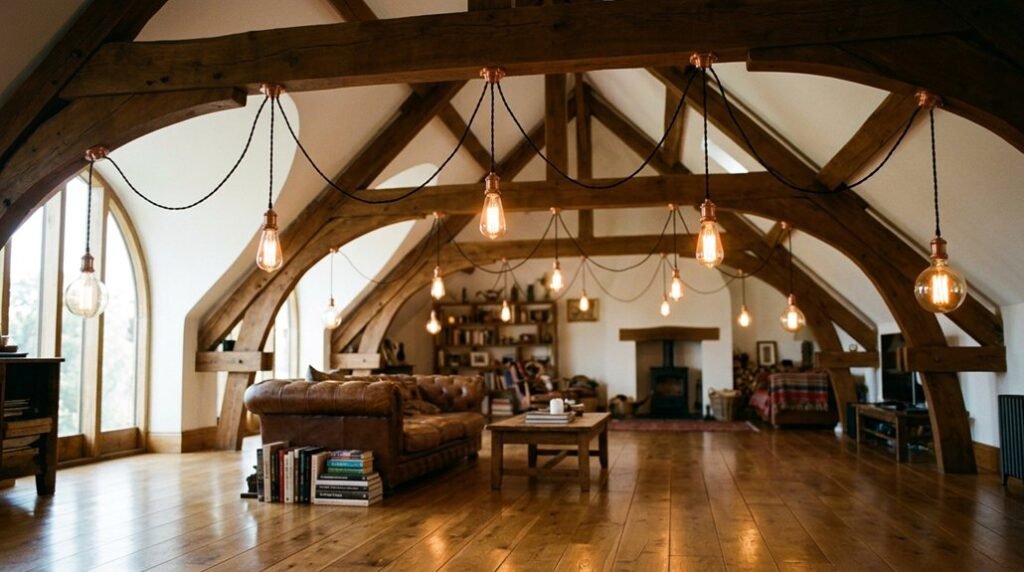
Why settle for rigid lines when your space deserves poetry in light? As you hang string lights, you’ll weave indoor lighting into something almost lyrical.
First, sketch your route to anticipate where draping will pool gracefully. Measure your path, then add ten to fifteen percent extra length—this slack transforms tension into flow. At corners, allow additional slack so the strand breathes rather than strains.
Space your anchors twelve to eighteen inches apart; this rhythm keeps hanging lights visually taut yet free to curve. Position extension cords mindfully, letting pull distance allow massaging curves instead of sharp angles. Each gentle arc in your lighting design feels intentional, never accidental.
You’re sculpting with luminescence now, letting darkness and glow converse through refined, harmonious draping.
Recommended Products
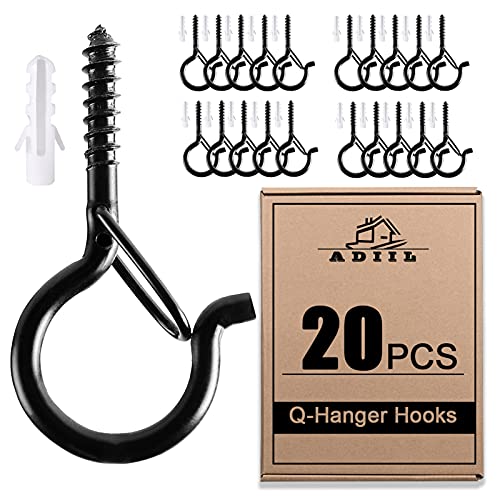
Safety Buckle Design: Add safety buckle design to prevent hanging objects from falling, even in high wind. Compared with ordinary ceiling hooks, the q hanger hooks are weatherproof and wind resistant, suitable for hanging outdoor patio string lights. No worry about items being knocked off, more secure

Sturdy & Strong:Our durable outdoor hooks are perfect for both indoor and outdoor use. Made with high-quality materials and rustproof coatings, they can hold up to 40 pounds and last for years. The outdoor light hooks are 2.2 x 1 inch, Whether you're hanging plants, lights, or decor, our hooks will securely hold them in place.

Q-Shaped Buckle Design : Not like the ordinary ceiling hooks for outdoor string lights, the safety latch is added to prevent hanging objects from falling or sliding out even with Vertical installation. No more worry about string lights being fall off.
Hide Cords and Fix Sagging Without Restarting
What spoils a luminous canopy faster than tangled cords drooping like forgotten garlands? You needn’t dismantle your entire lighting design to restore its grace.
Add adhesive hooks at sagging points to create new anchors, maintaining gentle tension that keeps cords taut without straining bulbs. You’re preserving the line’s poetry while smoothing its silhouette. For lightweight cords alone, clear tape tucks discreetly along baseboards, though you’ll rely on sturdier hanging methods for substantial strands.
Drape lighting across furniture edges to minimize wall cords entirely, letting the room’s architecture share the burden gracefully. Inspect your tension periodically—small adjustments prevent gradual droop. You’re curating atmosphere, not merely installing fixtures. With these refinements, your illuminated space breathes harmony, each cord precisely placed, each strand floating at perfect, luminous ease.
Recommended Products

Lewufe brick hook clips for hanging outdoors are great for hanging holiday decorations like Christmas, Easter, Halloween, Thanksgiving, Independence Day, or for hanging tools and artwork like Christmas string lights, stockings, picture frames, christmas roof decorations, craft items and more.

[ STRONG ADHESIVE ] Our newly upgraded adhesive features ultra-high adhesion waterproof adhesive strips, solving the problem of falling decorations. It is easy to remove without leaving unsightly marks on walls
Assorted Sizes: Package include 55 pcs small adhesive cable clips and 50 pcs Large wire cord clips. Made of eco-friendly premium PA66 material, meet your needs for hanging outdoor string lights, perfect for christmas decorations, halloween decorations, holiday patio decor, porch decor and balcony decor.
Take Down Your String Lights Without Wall Damage
When the season shifts or your mood calls for change, you’ll want to lift those lights away as gently as you hung them, leaving walls pristine beneath their glow.
Master this refined removal technique: grip each removable adhesive hook and peel straight downward—never outward—to release tension without stripping paint. For cord securing with painter’s tape, lift slowly, letting the adhesive release on its own. You’ll find lightweight strands forgive hasty hands, but patience preserves your surfaces.
If you embraced draping as a damage-free method, simply unwrap and breathe easy. Your repositioning remains endless when you’ve planned ahead. No wall damage shadows your memory—only the warm echo of light you’ve gracefully moved elsewhere. Patch any tiny marks, step back, and admire the invisible art of care.
Recommended Products

【Globe String Lights】The Led string lights come with frosted globes can create a soft, cosy light to take care of your eyes. So the lighting effect of the frosted ball is irreplaceable by other LED string lights. The cute string lights indoor provide a fun feel for room aesthetic to the bedroom, dorm, classroom, living room. The globe around the lights are shatterproof, it not only create a unique relaxing and soothing indoor atmosphere, but also enhances the durability of the string lights

[Single-Color & Dual-Color Modes] There are 16 kinds of single-colors. Dual-colors (frequently changing, not fixed) and multi-color to fit your use in special events such as Christmas, party, festival, wedding, camping or daily use

Leave lights for decoration: Say goodbye to the hassle of separately buying vines and lights, as our leave lights comes with both. Whether adorning your fireplace, bedroom, classroom, table, or wall, these leave lights create a charming Christmas atmosphere that's perfect for relaxation or gatherings. The leave lights’ versatile design complements various decor styles, adding a touch of nature indoors
Conclusion
You’ve crafted a space that glows with intention—each strand draped just so, tension balanced, cords vanished into shadow. Your walls remain unmarred, your lines breathe with graceful slack. When the season shifts, you’ll peel away the hardware gently, preserving what you’ve built. The light was never merely functional; it was atmosphere, curated. Carry this precision forward, and every room you touch will carry that same quiet harmony.
Recommended Products

Sturdy and Durable: Package include 30 pcs clear adhesive christmas light clips. Base 1.57”x 0.9”, Inner Height 0.2”. The double-hook design and the use of high-quality PA66 materials make our string light hooks sturdy and durable, no worry about light clips for outside string lights falling off.

Keep your lights cord in place with our double hook clips:Conventional single hook design is often unstable when fixing, swaying from side to side, etc. The improved and upgraded outdoor light hooks design prevents the fixtures from sliding or sagging. You can adjust them to the most suitable height and enjoy the beautiful display effect.

Compatible Surfaces: Adheres securely to smooth, non-porous surfaces including painted walls gloss/satin finish, glass, metal, finished wood, and tile.NEVER use on Fabric, wallpaper, peeling paint,unpainted drywall, or other delicate surfaces.