You’re standing before a blank wall, frames stacked nearby, and you realize placement is everything. One misstep throws off the room’s rhythm. You’ll need more than a hammer and hope—you’ll need a system that treats your wall like a composition, not a bulletin board. The real work happens before the first nail hits plaster.
Map Your Gallery Wall on the Floor First
Where better to choreograph your wall’s composition than on the ground itself? You’ll begin with floor planning by taping off your wall’s exact dimensions directly beneath where it’ll hang—this creates your spatial boundary for true-to-scale layout testing.
Select your anchor piece, typically your largest frame, and position it in an outer quadrant rather than defaulting to center. You’re building tension, not symmetry. Cluster remaining works into mini grids of two to four, alternating horizontal and vertical orientations to establish rhythm through the arrangement.
As you work outward from that anchor, you’re calibrating spacing balance—adjusting gaps so your eye travels organically across the surface rather than anchoring to one focal point. Once satisfied, shoot a reference photo. You’ve mapped the topography; the wall awaits your translation.
Recommended Products

Easy Picture Hanging with Precision : Hang your saw-tooth or wire picture frames effortlessly without the hassle of measuring. Our unique positioning system ensures accurate nail hole placement every time, eliminating guesswork.

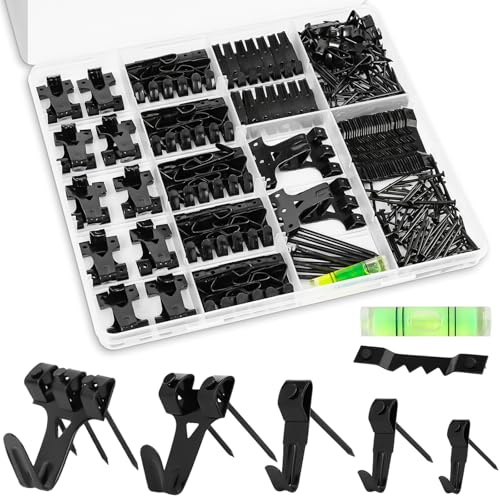
EFFORTLESS ORGANIZATION: Our 303pcs Heavy Duty Picture Hanging Kit boasts an exceptional design with categorized compartments, saving you precious time that would otherwise be spent searching for the right hardware. Plus, when you're done using it, everything neatly tucks away, eliminating any post-project mess. Can replace picture hanging strips.
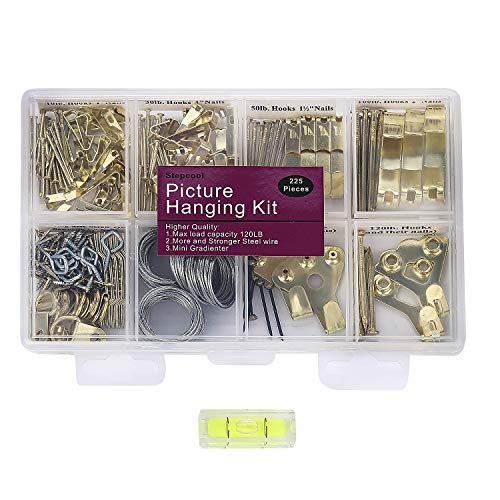
【More Heavy Duty Hangers】:Our picture hangers kit contains more large load capacity hooks than others: Besides 50lb., 100lb., we have 80lb. and 120lb.,they are stronger, you can even use just 2 hangers for heavy items
Set Your Hanging Height and Spacing Rules
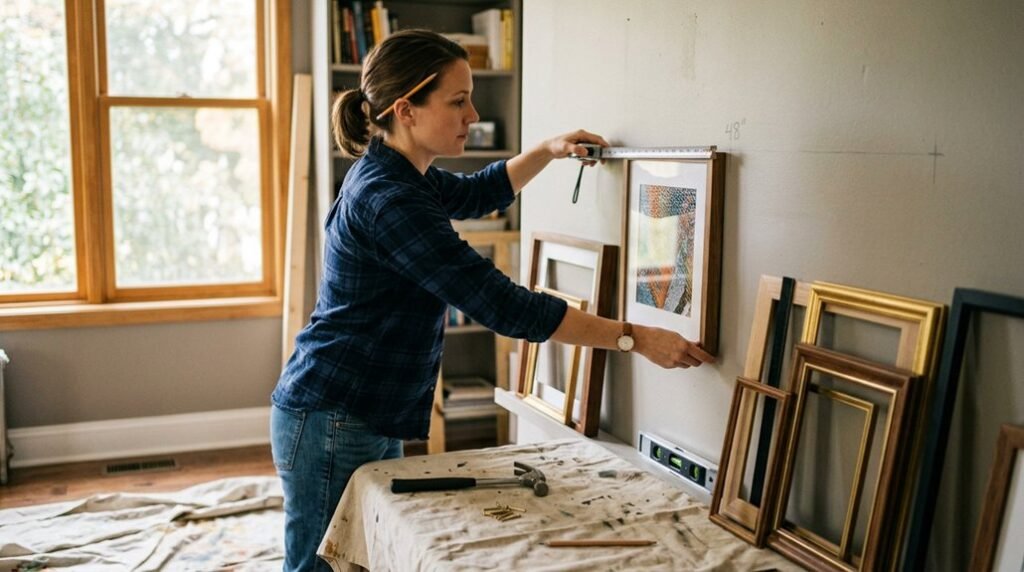
Once you’ve mapped your composition on the floor, you’ll translate it vertically with precision—because hanging height determines how your collection breathes in the room. Treat your gallery wall as a single artwork during layout planning.
On an empty wall, center the arrangement at approximately 57 inches above the floor—the sweet spot for human sightlines.
Above furniture, elevate the bottom frame 7–10 inches above the surface to create visual tension without floating disconnectedly.
Maintain 2–3 inches of spacing between frames; tighter intervals feel intimate, broader gaps expand the narrative.
During layout planning, avoid four corners meeting at one point—you’ll disrupt the visual rhythm.
Measure your wall space to fill, then execute with intention. Your spacing isn’t merely functional; it’s the negative space that lets each piece resonate.
Recommended Products

Wide Assortment: 220-piece picture hanging kit includes 24 sets of 10lb picture hangers, 14 sets of 30lb picture hangers, 4 sets of 50lb picture hangers, 3 sets of 100lb picture hangers, 2 sets of 80lb, and 2 sets of 120lb picture hangers, 8 sets of D-rings, steel wire, screw eye hooks, and sawtooth hangers

ALL-IN-ONE SOLUTION – Hanging tool allows you to visualize nail/hole placement, mark the wall precisely, and position the picture correctly the first time..Note: Measure your door's backset, cross bore and thickness to ensure you find the right fit.

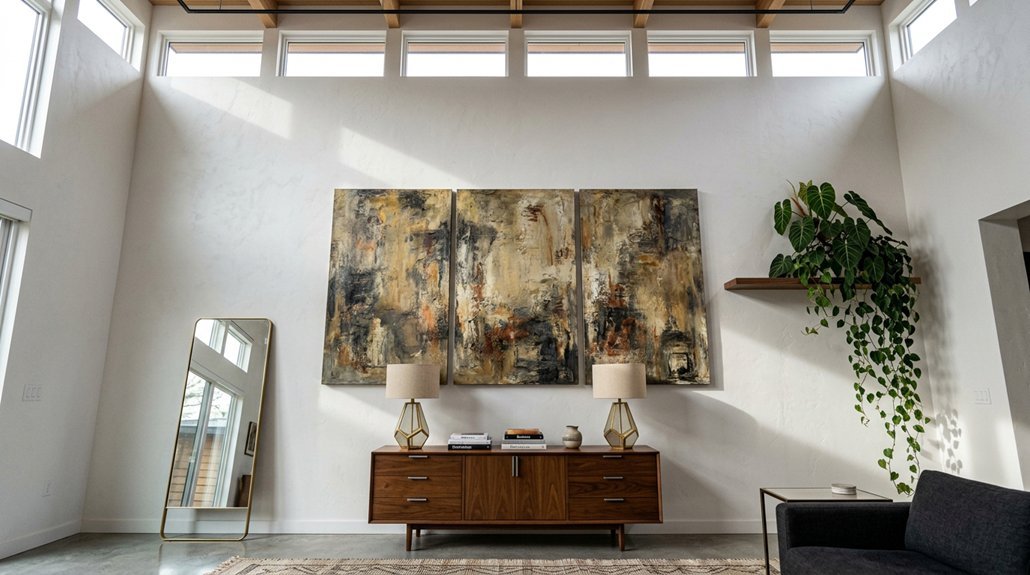
Anchor the Arrangement With Your Biggest Piece
Your largest piece shouldn’t whisper from the center—it should declare its presence from a corner or off-center position, establishing the gravitational pull of your entire composition.
You’ll anchor your layout by planting your largest piece in one of four outer quadrants, never dead-center. This off-kilter placement commands the eye to travel, creating movement across your wall’s spatial field. Build balance by radiating smaller works outward from this anchor, letting horizontals and verticals converse in layered tension. You’re orchestrating material relationships—canvas, frame, negative space—rather than assembling a static grid. The anchor piece sets your visual tempo; everything else responds to its scale and edge. Layer orientations deliberately around this foundation to avoid visual flatness. Your wall gains dimension when the largest form disrupts symmetry and smaller pieces negotiate the equilibrium you’ve initiated.
Recommended Products

Easily assemble the sliding rail to reach a full 30 inches of total length, providing the perfect adjustable span for most standard-sized frames and artwork. Whether you’re hanging a large canvas or a gallery wall, you’ll have the ideal spacing every time.

【MULTIFUNCTION LASER LEVEL】Laser level tool cool gadgets for men Works For Indoor Designed for any situation where accurate measurements are needed, such as hang shelves, cabinets, tiles and picture frames with accuracy. All The Job That Requires A Straight Line Or Accurate Measurement.

【3-in-1 Professional Hanging】 Combines a spirit level, measuring ruler, and magnetic nail starter into one compact tool. No more juggling hammers and tapes—simply level, mark, and install with a smooth, punch-like motion for instant decor
Build Balance Around Odd Numbers and Pairs
Why settle for static symmetry when odd-numbered clusters unlock something far more kinetic? You’ll find that arranging three or five frames creates visual rhythm across your gallery wall, letting energy pulse through negative space rather than flattening into rigid grids.
Start with your largest anchor—perhaps that bold horizontal canvas you’ve positioned in an outer corner—then build balance outward using odd numbers. Pair smaller vertical pieces against larger horizontals, centering or bottom-aligning them to craft interlocking shapes. You’ll notice how these varied orientations guide the eye across the entire wall instead of trapping it in the middle.
Create mini-grids of two to four pieces, then expand inward from that anchor. This layered approach yields a composition that feels curated, intentional, alive—where material weights and spatial tensions resolve into harmony without ever feeling forced.
Recommended Products
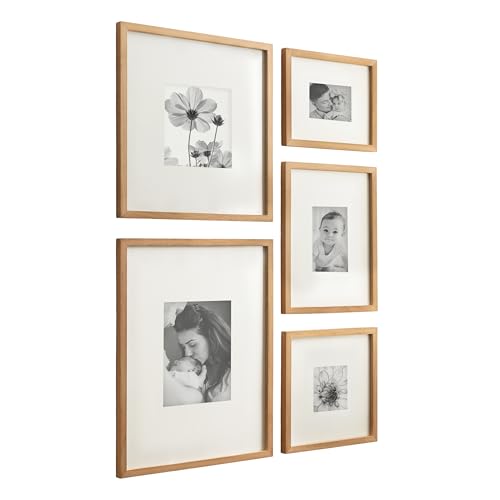
Versatile Picture Frame Set: The five photo frames within this set make for stunning individual frames on their own or a charming, cohesive wall decor set

MULTI-PHOTO WALL DISPLAY: Display your favorite photos in an eye-catching fashion using these hanging, gallery-style frames suspended from a modern and sleek beam; holds four 5x7 and five 8x10 photos
Mix Frames, Orientations, and Color on Your Gallery Wall
How do you keep a gallery wall from feeling flat? You mix orientations and frame styles with intention. Pair a large horizontal frame with a smaller vertical piece, then reverse the rhythm as you move inward. You’re creating visual tension that pulls the eye across the entire layout.
Start with three frame finishes—perhaps white, black, and warm wood—to test balance. Or blend two clean modern frames with one ornate piece, adding a whisper of gold as accent. You want material contrast without chaos.
Build mini grids of two to four pieces, varying sizes within each cluster. Keep a tight two-to-three-inch gap between all frames for cohesion. This spacing unifies diverse elements into one deliberate composition. Your gallery wall becomes dimensional, curated, alive.
Recommended Products

Warm Reminder: To keep your memories clear and clean, please allow the ink to dry completely before touching the signatures. Touching wet ink may cause smudging or blurring

【Unique Grain】This 3 picture frame combines practicality with a rustic design. The unique grain design adds a chic touch to any room, making it a perfect addition to any rustic farmhouse home decor

Center hole holds the pencil in a perfectly centered position as you scribe your line
Hang Your Gallery Wall Using Your Floor Plan as a Guide
Before committing nail to wall, you’ll want to see the full picture. Tape off a floor-sized box matching your wall hanging zone and lay every piece inside. This floor plan becomes your spatial laboratory—move things freely until the layout breathes.
Start with your largest piece as anchor, placing it off-center or in an outer corner to ground the composition. Mix orientations deliberately: pair a vertical frame with a horizontal neighbor, then mirror that balance across the arrangement. Cluster two to four pieces into mini grids, letting varied materials—matte black, warm wood, crisp white—create tonal rhythm without chaos.
Once the floor arrangement satisfies, photograph it. You’ll transfer these exact positions using paper templates or precise measurements. Begin wall hanging from your anchor outward, letting the floor plan guide each placement with spatial confidence.
Recommended Products
EFFORTLESS ORGANIZATION: Our 385pcs Heavy Duty Picture Hanging Kit boasts an exceptional design with categorized compartments, saving you precious time that would otherwise be spent searching for the right hardware. Plus, when you're done using it, everything neatly tucks away, eliminating any post-project mess. Can replace picture hanging strips.

Comprehensive and Versatile: This 315 piece picture hanging kit, also known as a wall hanging kit, frame hanging kit, or picture frame hanging kit, comes with all the necessary accessories, including hooks, wires, nails for hanging pictures, D rings, a magnetic level, and a magnetic mini pink hammer. Whether you want to hang artwork, photos, mirrors, tapestries, or clocks, this kit has got you covered

HEAVY DUTY STAINLESS STEEL WIRE: Package includes 2PCS premium stainless steel wire ropes, 6.6FT long, 0.06 inch diameter, supports up to 100lbs. Rust-resistant construction for long-lasting indoor and outdoor use.
Level and Fine-Tune Each Frame as You Go
Where exactly should your first nail land? Hold your lowest piece against the wall, mark its hook placement, then hammer. You’re building from this anchor, so trust your hang plan. Work outward—left, then right—before stacking upward.
Grab your level. Check each frame’s straight edge against the plaster. Don’t trust your eye alone; recheck alignment after every subsequent piece. You’re crafting a grid, not a guessing game.
Maintain two to three inches between edges. That spacing breathes, lets each frame claim its territory without crowding neighbors. Consistent gaps signal intention, not accident.
Step back often. Squint at the whole arrangement. Straighten tilted corners, shift what fights the composition. Cover stray holes by nudging frames—no patch needed.
You’re refining as you go, not fixing after.
Recommended Products


Get your gallery wall up effortlessly with Mr. Pen picture hanging kit, featuring 20 D-ring picture hangers, 20 screws, and 20 aluminum sleeves. This all-inclusive kit provides all you need to hang your art securely.
Add Personal Objects for a Collected-Not-Catalog Look
Why settle for a wall that looks straight from a showroom when you’ve got stories worth showing? Mix digital prints with personal items—framed sketches from friends, cocktail napkins, Polaroids—to build a gallery wall that breathes with memory.
You’ll weave meaning into material: ultrasound images, handwritten vows, a pressed flower. Each object carries weight, creating a collected look that resists catalog sterility. Balance these treasures against refined art pieces, letting intimacy and polish coexist.
Consider your spatial rhythm. Vary frame styles and framing/matting thicknesses to prevent visual flatness—thin metal beside weathered wood, crisp white mats easing into deckled edges. Give every piece room to resonate. Your wall becomes a living archive, not decoration.
Recommended Products

【3-in-1 All-in-One Hanging Tool】 – Combines a precision bubble level, measuring ruler (14.5 inches), and magnetic nail starter in one smart device. No more switching between hammers, tapes, or levels—just align, mark, and hang your frames in seconds. Perfect for DIY home decor projects.

【Upgraded 3-in-1 Wall Hanging Helper】:Combine spirit level, measuring scale and magnetic nail holder all in one handheld tool. No more holding multiple tools separately. Fast measure, leveling and nailing operation help you hang decorations neatly in minutes.

All-in-One Kit: The Picture Hanging Tool combines levelling, measurement ,marking into a single unit. It could be used as a regular tape measure for simple measurement. It could also be used to check the leveling for items on the wall, such as bathroom accessories. It could satisfy your multiple needs both separately and comprehensively with only one tool.
Conclusion
You’ve mapped, measured, and mixed your frames into something unmistakably yours. Step back—your gallery wall breathes now, shifting light across varied surfaces, those deliberate gaps pulsing with intention. Trust the tension between polished and found, symmetry and surprise. This isn’t decoration hung; it’s space claimed, memory made visible. Your walls hold stories.