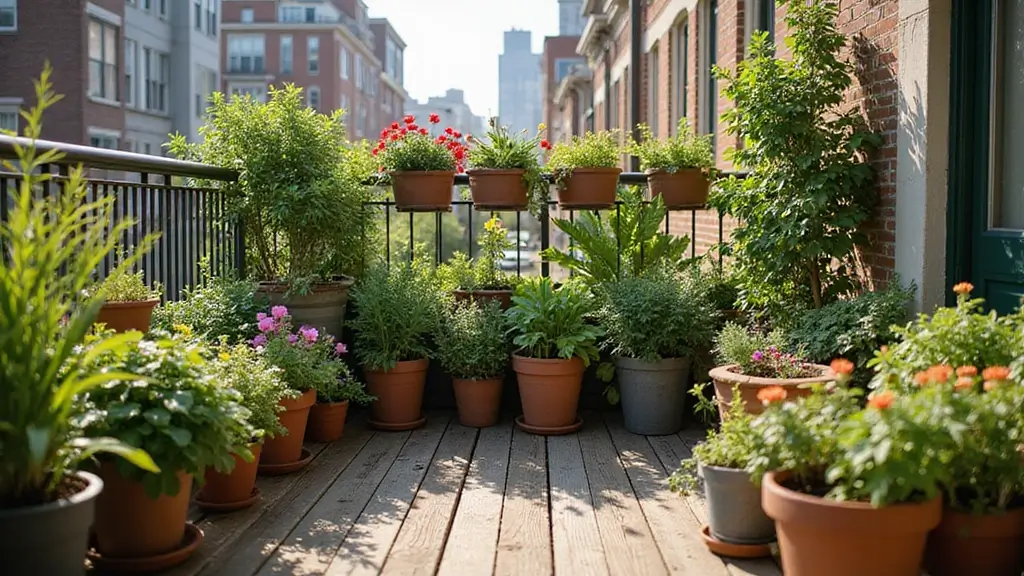
You’ll notice your once-thriving houseplant looking a bit tired—roots sneaking through drainage holes, soil drying out impossibly fast, or growth that has simply stalled. These quiet signals matter more than you’d think, and ignoring them sets your plant up for real trouble. The good news? Repotting isn’t the dramatic operation many fear it to be. With the right timing and a few straightforward techniques, you can give your indoor companion exactly what it needs to rebound. The catch lies in knowing which signs actually demand action versus those that look alarming but can wait.
Signs Your Houseplant Needs Repotting
Wondering when your houseplant needs a new home? You’ll spot trouble early if you know what to look for. Check your drainage holes—are roots peeking through? That’s your plant screaming for space. When you lift it from the container, you’ll see roots circling the edge; this means it’s root-bound and craving a larger pot.
Notice the soil drying quickly after watering? Your plant’s outgrown its current setup. Slow or no growth despite proper care signals restricted roots suffocating in tight quarters. Don’t ignore crusty soil either—those salty deposits indicate mineral buildup demanding fresh soil. You’ll save struggling plants by recognizing these warnings promptly.
When multiple signs appear together, you’re definitely overdue for repotting. Trust your observations; they’re telling you exactly when to act.
Recommended Products

【Premium Quality】The clay pot made of top-quality clay and baked at 1796°F high temperature, each Terracotta Pots with pink paint features great durability. All packages have passed the 3-foot drop test to ensure the pots stay intact during delivery.

Premium Quality: These terra cotta pots are constructed of high-quality clay, which allows more water and air to circulate freely within the pots while yet maintaining their structural integrity. It's an excellent choice for cactus, succulents, and other plants that thrive in dry soil, and it's also appropriate for areas with lower temperatures. The high air permeability of the pot walls helps the soil to dry out more quickly

【2 DIFFERENT SIZES】Large plant pot: 7.87" D x 5.12 "H. Small plant pot: 5.91"D x 4.02"H. Package: contains 2 ceramic flower pots, 2pcs mesh pads & 2pcs silicone plug . (NOT INCLUDE PLANTS)
How Often to Repot Indoor Plants
Once you’ve spotted the signs your plant’s cramped, you’re probably asking how often this whole operation needs repeating.
You’ll generally follow a repotting frequency of every two years, though you’ll move faster when your plant turns root-bound—watch for roots escaping drainage holes or surfacing above soil. Quick-drying soil and stalled growth also demand immediate attention.
Your pot size strategy matters: you’re adding only one to two inches in diameter to encourage healthy root system expansion without drowning roots in excess moisture. Larger pots grow larger plants, but you’re avoiding oversized containers that trap water and rot roots.
You’re planning this work around dormancy timing, tackling it in late winter as light strengthens and growth resumes. Skip this seasonal window and you’re stressing an active plant.
Recommended Products

VISUALIZED CLEAR NURSERY POTS: The Clear Nursery Pots features a mirror-like transparency, facilitating easy monitoring of water levels and soil humidity. Adjust watering frequency promptly and scrutinize every seedling detail, including leaves, stems, and overall shape. Quickly assess whether a larger Nursery Pots is needed.

Durable Self-Watering Pots: Set of 5 plastic plant pots with drainage holes and saucers for indoor and outdoor plants. Ideal gift, Carbonfree Certified

【 What You Get 】10pcs 7" plastic plant pots, 10pcs 5" plastic plant pots and 10pcs 4" plastic plant pots
Choose the Right Pot Size and Material
What size pot does your plant actually need? You’ll want to choose a pot one to two inches larger in diameter than its current container. This gives adequate room for root growth without risking waterlogged soil that causes rot.
Your pot material significantly affects watering routines. Terracotta’s porous nature wicks moisture from the soil, meaning you’ll water more frequently. Plastic and fiberglass containers retain moisture longer since they’re less breathable.
Always verify your selection has drainage holes. Without proper water drainage, roots sit in soggy conditions and deteriorate quickly. If you’ve fallen for a decorative cache pot without holes, simply nest your plant in a plastic liner pot inside it—this preserves drainage while maintaining style.
Match these elements thoughtfully, and you’ll create conditions where your plant truly thrives.
Recommended Products

INDOOR GROWING: Growing indoors is easy under the right conditions; Miracle-Gro Houseplant Potting Mix is an indoor plant potting soil that combines key elements container plants need to thrive
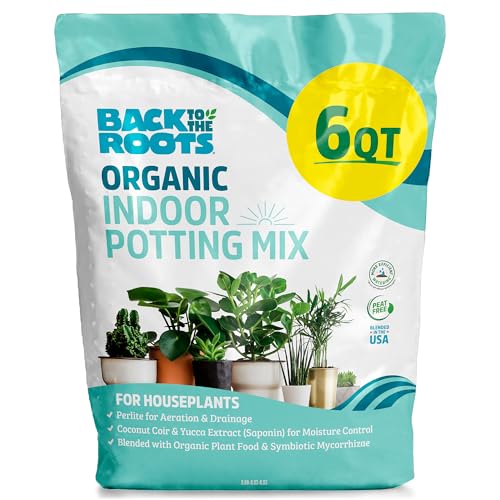
Includes 6qt of Back to the Roots Indoor Potting Mix. Our Potting Mix contains organic yucca extract that aids in retaining moisture in the soil which keeps your indoor plants happy and healthy
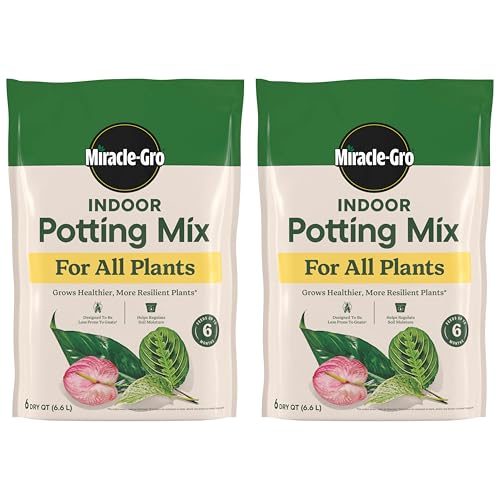
Miracle-Gro Indoor Potting Mix for All Plants feeds houseplants for up to 6 months and grows healthier, more resilient plants (vs unfed when used as directed)
Select and Prepare Your Potting Mix
Because garden soil compacts too easily in containers, you’ll want to reach for a quality potting mix formulated specifically for houseplants—it’s engineered to drain well while maintaining the loose structure roots need to breathe and expand. Check the soil composition on the bag to confirm it supports drainage and won’t squeeze your plant’s roots over time.
Opt for peat-free potting mix when you can; it reduces environmental strain without sacrificing performance. Grab fresh soil rather than reusing old material, since depleted dirt starves roots and invites problems.
Match your mix to your repotting container. If you’ve chosen porous terracotta, select a potting mix that drains extra fast so moisture doesn’t linger against the walls. Proper preparation now prevents waterlogged disasters later.
Recommended Products

Bend proof aluminum - If you find a way to somehow bend this transplanter trowel we will replace it

12 Piece Succulent Kit For Planting Succulents, Gardening, Bonsai Trees, Cactus, Transplanting and other necessary tools.

Package include: 1 x Watering Bottle(250ml); 1 x Cleaning Brush; 1 x Pair of Curved Tip Tweezer; 1 x Leaf Trimmer; 1 x Air Dust Blower; 1 x Bucket Shovels; 3 x Transplanting Tools; 3 x Shovel Rake Spades; 1 x Mat (19.7 inch*19.7 inch); 10 x Tags; 5 x planter mesh pads; 2 x Gloves (1Pair).
Prep Your Plant and Container Before Repotting
Before you start, grab your new pot and check that it has proper drainage holes—without them, water pools at the bottom and rots your roots. If you’ve chosen a decorative container, place a plastic pot inside it to prevent direct soil contact.
Select a larger pot that’s only 1 to 2 inches wider in diameter than the current one; this prevents waterlogged soil while allowing room for growth. However, if your plant’s rootbound, you can repot into the same size pot with root pruning to encourage healthier growth.
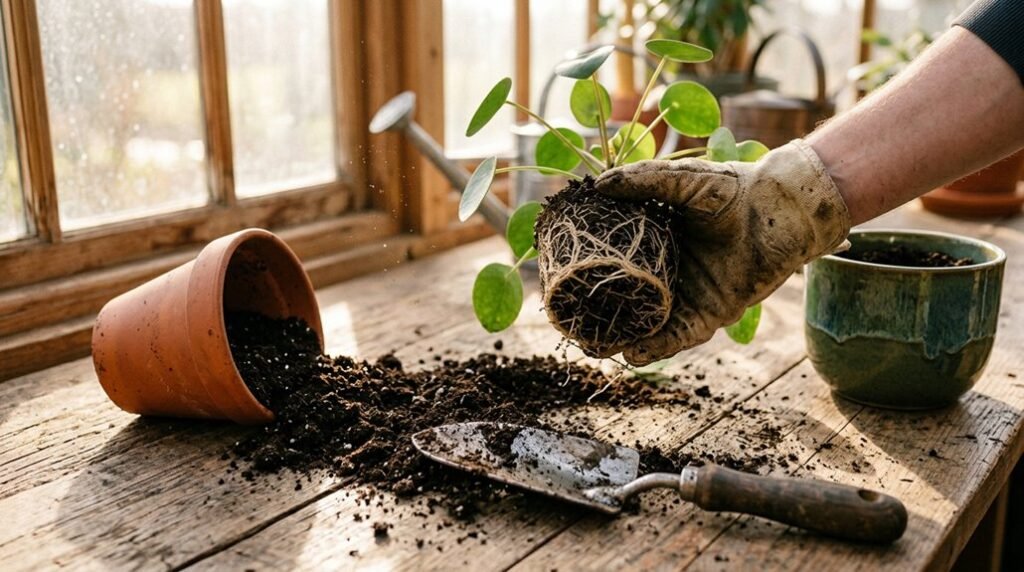
Gently remove your plant from its current pot. Look for roots circling out of the drainage holes, then work loosened roots free from compacted soil. You may trim up to one-third of the bottom roots if needed.
Recommended Products

【2lbs Pebbles】Package: 2 pounds. Size: 0.8-1.2 inch.Due to machine screening, some stones will exceed 1.2 inches in length.They are very clean and have no dust or powder attached

Innovative Airflow Design: These orchid pot feature a distinctive perforated pattern that enhances air circulation, ensuring optimal ventilation. This design promotes stronger root growth and more abundant blooms, making it perfect for nurturing orchids
【20 lbs Small Pebbles】Weight:20 pounds, rocks are really heavy, 20 lbs stones were smaller than expected in volume and quantity. Size:0.8-1.2 inch, due to machine screening, some pebbles will exceed 1.2 inch in length. Pebbles include various shades of brown, white, black and different shapes.
How to Repot Rootbound Plants Step by Step
When you’ve freed your plant from its pot and spot roots circling the surface or poking through drainage holes, you’re dealing with a rootbound specimen.
Gently massage the root ball to loosen coils and free bound roots. If you’re keeping the same pot size, perform root pruning by trimming up to one-third of the roots to stimulate fresh growth.
Position your plant in the new pot so the stem base sits one-quarter to one-half inch below the rim. Fill around the roots with fresh potting soil, pressing lightly to eliminate air pockets. Water after repotting until liquid drains from the bottom, then allow the pot to empty completely. Reduce your watering frequency initially while the plant acclimates to its refreshed environment and regenerates its root system.
Recommended Products

Design Terracotta Pots - Handcrafted elegant design terra cotta planters for indoor plants or succulents.

【Premium Quality】Made of top quality clay and baked at high temperature , terracotta pots features great durability and crack resistance,all the productscome well. packaged to ensure the planters remained intact duringthe delivery process

Premium Quality: These terra cotta pots are constructed of high-quality clay, which allows more water and air to circulate freely within the pots while yet maintaining their structural integrity. It’s an excellent choice for cactus, succulents, and other plants that thrive in dry soil, and it’s also appropriate for areas with lower temperatures. The high air permeability of the pot walls helps the soil to dry out more quickly
Repot an Indoor Plant Without Stress
How can you minimize shock when moving your indoor plant to a new home? Water the plant in its original pot and rest for one hour before repotting to reduce transplant shock. Choose a new pot 1–2 inches larger in diameter with drainage holes to prevent waterlogging.
Gently remove the plant, tease and loosen roots, trim dead roots, then place in the new pot with fresh potting mix. Fill around the root ball, ensuring the top of soil pinning is 1/4–1/2 inch below the pot rim, then water thoroughly and allow excess water to drain.
After repotting, keep the plant out of direct sun briefly and adjust watering to account for the new soil moisture.
Recommended Products

Plant Pots / Flower Pots - Invest in a beautiful garden to harvest the seeds of love, with the set of pots for indoor or outdoor plants

Variety Pack Clear Nursery Pots: Clear Pots offer 3/4/5/6/7 inch(each size have 6 pack), catering to a wide variety of planting needs. Whether you're a hobbyist starting a small herb garden or a professional gardener nurturing seedlings for a larger project. These clear nursery pots come in convenient assortment that ensures you have the perfect size for every stage of plants growth.

[Drainage System Designed for Healthy Roots] These 6 inch plant pots feature multiple drainage holes at the bottom to promote airflow and prevent waterlogging. Matching saucers help catch excess water and reduce mess, making them ideal plant pots with drainage for both indoor and outdoor use.
Aftercare: First Weeks Following Repotting
Once you’ve settled your plant into its new pot, the real work begins in helping it establish itself. Start the acclimation process by moving it away from direct sunlight for a few days to reduce stress. Monitor soil moisture closely and adjust your watering rhythm based on water drainage—you’ll want consistency without drowning the roots. Check water drainage carefully, as pot size affects how quickly soil dries. Larger containers retain moisture longer, so tailor your approach accordingly.
Watch for signs of stress or fresh growth over the next two weeks to gauge root health and establishment progress. If the surface settles, top up with fresh soil or mulch. Track how environmental factors and seasonal shifts affect your plant’s needs through these critical first weeks.
Recommended Products

MULTI-PURPOSE FORMULA FOR ALL EPIPHYTIC ORCHIDS: Specially developed for growing a wide range of orchids, including Cattleyas, Phalaenopsis, Dendrobiums, Paphiopedilums, and Oncidiums

All-In-One Potting Soil Solution: TOYPOPOR potting soil is a blend designed to give your plants everything they need to thrive. This organic potting soil is packed with perlite, sphagnum peat moss, coco coir and rice husk charcoal. Great for all indoor outdoor plants.

Must-Have gardening accessories: Getting dirt everywhere when potting/repotting house plants? The waterproof indoor gardening mat helps you keep all mess confined to keep the floor/table clean. The plant potting mat is easy to clean just with water and foldable for easy carrying and compact storage. It's ideal gifts for plant lovers for holiday season.
Conclusion
You’ll breathe new life into your houseplants by repotting them at the right time. Watch for warning signs, choose appropriately sized containers, and use quality potting mix. Handle roots gently, especially when they’re rootbound, and don’t skip the aftercare. Your patience during those first few weeks pays off with healthier, happier plants that’ll thrive in their fresh homes.
Recommended Products

DIG, CULTIVATE, PLANT & WEED >> Effortlessly create perfect planting holes and furrows. Designed with Serrated edges for cutting through roots, removing weeds, and loosen compacted soil as needed. Handy depth gauge so you can transplant with precision.

[Garden Root Pick Tool] It is a single claw root pick that is convenient for replanting, repotting, transplanting plants. You can remove the soil from the roots gently with this single claw garden tool. It is an essential repotting tool for bonsai.

Material: Made of plastic, wood, iron, rubber, stainless steel.